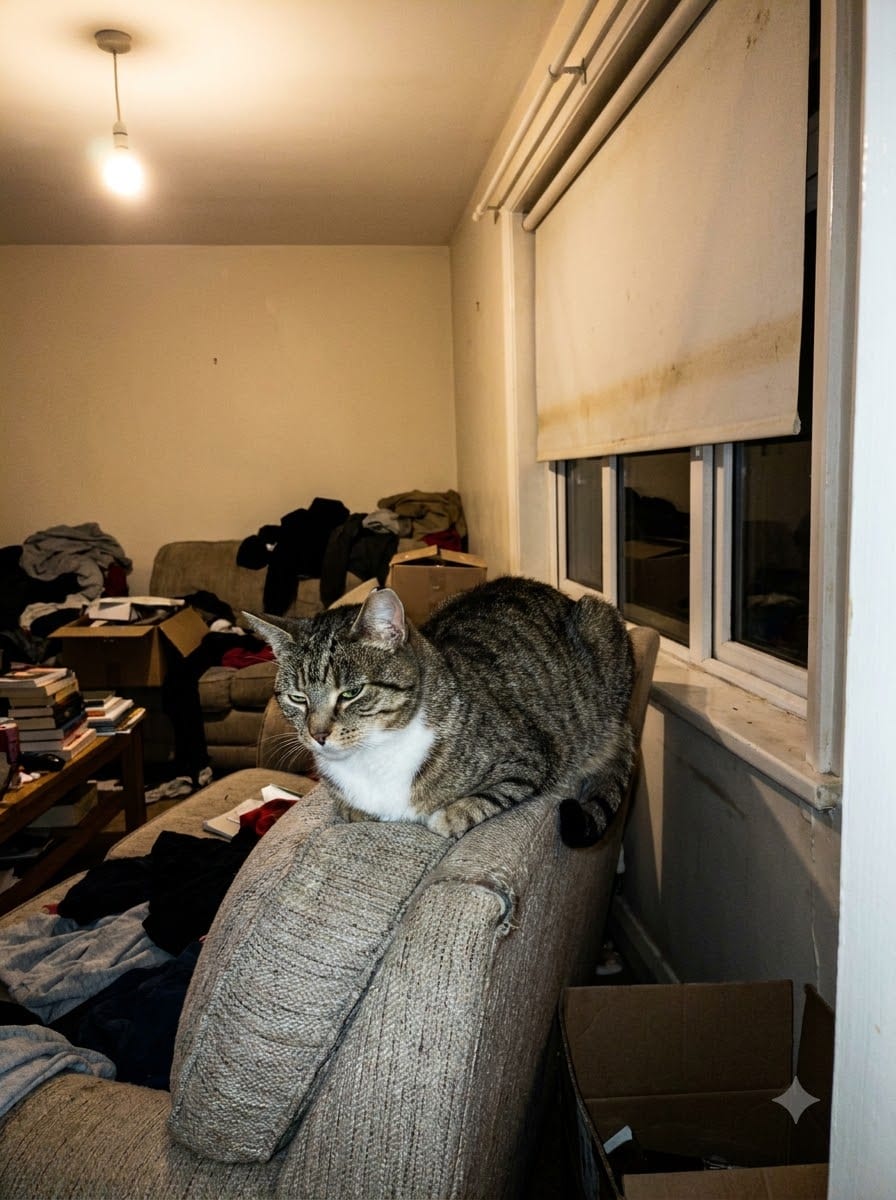
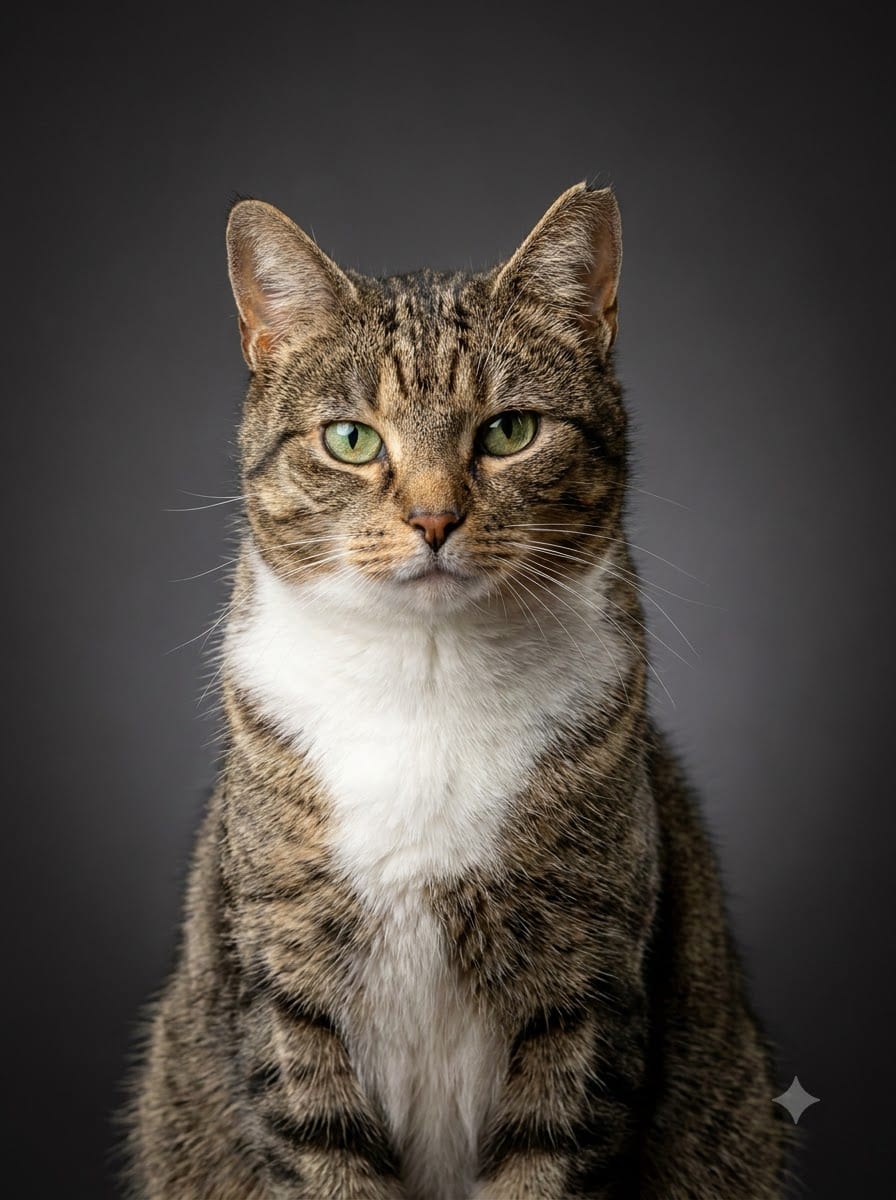
The rule underneath all eight: put the cat where the light already is, then wait. Moving a cat into a setup fails. Building the setup around a spot the cat already likes works almost every time.
1. The window sill, shot from the side
The classic, and still the best. Wait until the cat settles on a sill, then move so the window is to your left or right rather than behind the cat. Shooting straight into the window gives a black silhouette; shooting across it gives a soft gradient down the face that looks like a studio softbox, because functionally it is one.
Kneel until the lens is at the cat's eye level. Expose for the face by tapping it on screen — the room behind will go bright, and that is fine.
2. The doorway of a dark room
Stand the cat (or wait for it) in a doorway with a lit room behind you and a dark room behind the cat. The face gets light; the background goes near-black. It is the cheapest way to get a dramatic dark-backdrop portrait with nothing but architecture.
This one is especially good for pale and orange cats, whose fur separates from a dark background without any help.
3. A blanket over a chair
Drape a plain blanket — gray, cream, dark blue, nothing patterned — over the back and seat of a chair, and put the chair near the window. You have made a seamless backdrop. Cats sit on chairs unprompted, so this often requires no persuasion at all.
Avoid patterns and logos. In a printed portrait a busy background competes with the face and always loses in an ugly way.
4. The cardboard box
A box on the floor near a window is a cat magnet and a natural frame. Shoot from the front at floor level, with the phone resting on the ground. The edges of the box lead the eye inward, and the cat will hold the pose for far longer than it holds any other pose.
5. Backlit fur at golden hour
Late afternoon, sun low, cat between you and the window. Expose for the face — it will be dim — and let the light rim the fur along the ears and back. Long-haired cats look extraordinary lit this way, and it is the one situation where shooting toward the window is the right call.
6. The high shelf, shot from below
Cats put themselves above eye level constantly. Instead of fighting it, shoot upward from just below them: it reads as authority, which happens to be an accurate description of a cat. Keep the ceiling out of frame; a plain wall behind works better.
7. The close-up on a sleeping cat
Sleeping cats do not move, which solves the sharpness problem entirely. Get close but not too close — around 50 to 70 cm, using the 2× lens — and shoot the head and paws. Wake them at the end with a quiet sound for one open-eyed frame; that frame is often the best one of the day.
8. Two cats, one blanket
Do not try to arrange two cats. Wait until they are already together and shoot from their level with a burst. Getting both faces sharp and both sets of eyes open in the same frame is a numbers game — take fifty frames and keep one.
Four things that ruin cat photos
- Flash. Green eyeshine, flat fur, annoyed cat.
- Shooting from standing height. Foreshortens the face into a wedge.
- Portrait mode on long fur. The simulated blur cuts through ear tufts and whiskers.
- Chasing the cat. Ten minutes, then stop. Tomorrow is another session.
What to do with the good frame
Once you have one sharp, open-eyed photo, the interesting part is that the room in it stops mattering. Upload it and the lighting and background are rebuilt as a studio setup — the cat, the markings and the whiskers stay exactly as photographed. It is generated by an AI model from your photo, not shot in a studio, and you see the result before paying anything.